Exposure: show me the light.
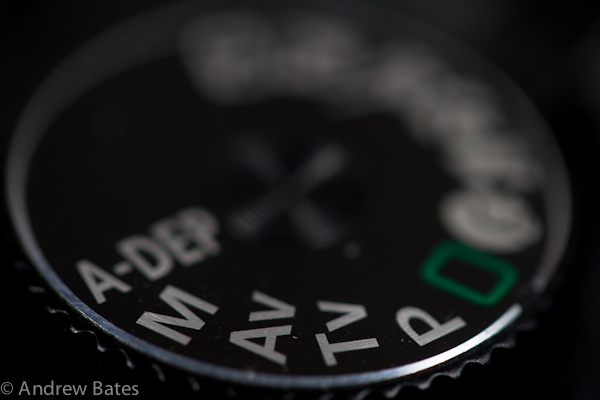 So, you've got your hands on an SLR of some kind and have decided to turn the dial to the dark side where there are no little face or flower icons or little snow men... all you see on this side are letters like M and P and Av and Tv and the like. Well done. You may also have noticed the quality of your shots dropping a little... this is most likely because, on this side of the dial, the camera's computer is making less decisions. That means you need to start making some more decisions and to do that, you need to know what your options are.
And this brings us to exposure. Whether or not you understand it, and no matter how much of it you understand, exposure is possibly the most important part of taking pictures. It can also be one of the most complex concepts of photography for some people to understand since there is a fair bit of science to back it all up. I don't want to get too technical, though. You don't need to know the science behind what's happening but you should be aware of what is happening. Once you do you can take some control and start really making the most of your camera.
To keep things simple we will talk in terms of a digital SLR. Everything here will apply equally to film or any other camera with manual exposure control, though, so don't worry if you're not using a digital SLR. Also, you'll want to switch your camera in to manual mode (usually indicated with a big M somewhere). In a digital SLR there is some kind of electronic sensor. This sensor has an optimal amount of light that it wants to see to take a good picture. Imagine it like a plant that needs water to grow; if you give the plant too much water, it will drown and die... if you don't give it enough water, it dries up and dies. The sensor wants just the right amount of light... too much and your shot will be too bright and will fade to white... not enough and your picture will be dark and fade to black. So the first thing to take away from this is that you need to give your camera just the right amount of light.
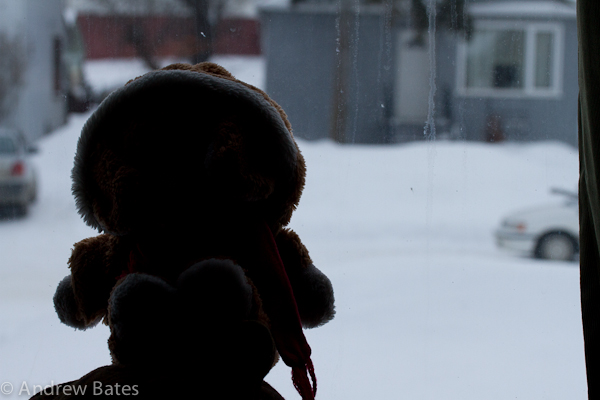
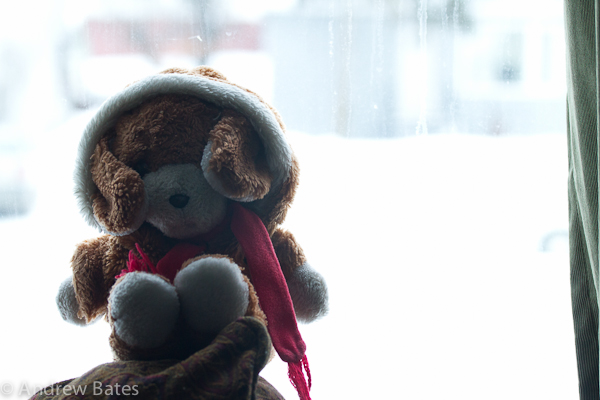 At this point you may be asking "how much light does my camera need?". The answer is "Just enough". You don't need to know an exact number. Exposure doesn't have to be an exact science, there is some artistic license for those that care to use it. For example, the dog in the top picture is properly exposed but when we drop the ammount of light by 16 times we get a silouette against a properly exposed background. What you do need to know is that you can change this value; you can make your sensor more or less sensitive to light. Most often we refer to the sensor's sensitivity level as ISO.
  You may have seen those letters at some point while using a camera. The ISO number tells you how sensitive your camera's sensor is to light. The larger the number, the more sensitive it is. Use a higher sensitivity when there is not much light (like indoors) and use a lower sensitivity when there's lot of light (like ouside on a sunny day). Easy.
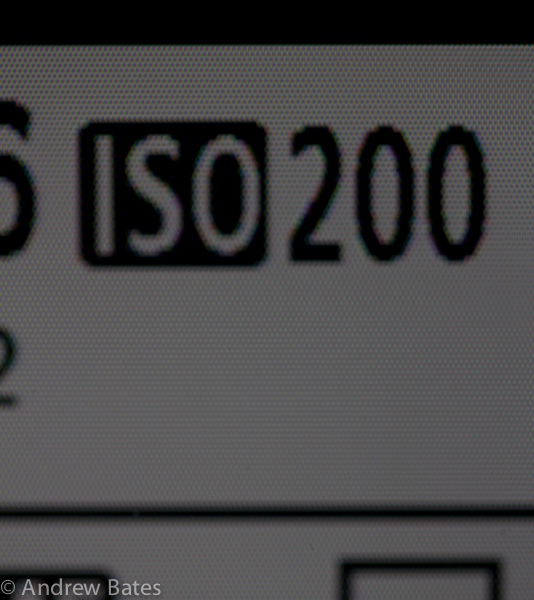 So look around at your camera and see if you can find the ISO value (read the manual if you don't know...really...read the manual). Let's pretend your ISO number is 100. If you would like to make your camera twice as sensitive to light, turn the ISO value up to 200. Very simple; 2 times the ISO equals 2 times the sensitivity. Want to make it 4 times more sensitive to light than it is at 100? Turn it up to 400. 4 times the ISO number means 4 times the sensitivity. Want it half as sensitive? Switch it the ISO number to 50. So when you go inside after taking pictures in the sun light turn up your sensitivity before taking pictures in the dim house... the higher the ISO number, the more sensitive the sensor is. There are consequences to this, but don't worry... we will talk about those later on. For now, more ISO means more sensitivity. Higher sensitivity is better for lower light situations like indoors, lower sensitivity is better for bright conditions like out in the sun where there is lots and lots of light.
Ok. So we take a picture and it comes out too dark or completely black... well, turn up the sensitivity (turn up the ISO) until you see what you want to see. Too bright/white? Turn the iso down till it looks right. This is not necessarily the best way to do it, but it works. There are consequences but, for now, don't worry about them.
Now that we know how to adjust the sensitivity of our sensor, we need to know how to control how much light is actually hitting that sensor. Again, going back to the plant analogy, you know how much water you plant needs now you need to turn on the hose and give it some water. There are two built-in ways to control this. Both ways involve putting things infront of the sensor to physically block the light coming in. The first one I'll talk about is called the shutter.
The shutter is what makes that famous clicking noise when you press the big button to take a picture. What happens is that there is a black piece of plastic that is completely blocking the sensor. This object is called the shutter. When you press the big button (called the shutter release) to take your picture, the shutter moves out of the way to let the sensor see the light and then it moves right back in front to block the light again. To use the plant analogy yet again, when you are watering your plant you squeeze the handle on the sprayer to allow the water to come out and then release it to stop the water flow; when you take pictures you open up the shutter to allow light in and close the shutter to block the light again. The only thing you can control about this action is how long the shutter stays open. This is often refered to as the shutter speed.
Unlike the speed of a car, we measure shutter speed using time. We talk about the speed in seconds. So if we set our shutter speed to 1s, the shutter will move out of the way for 1 second. If we set the shutter speed to 30s, the shutter will stay open for 30 seconds. 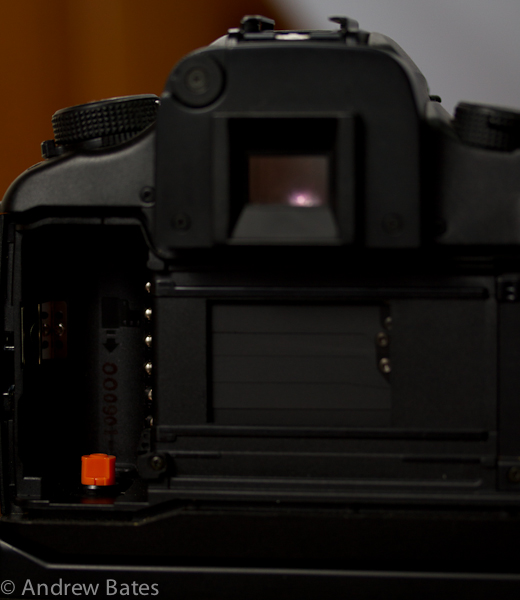
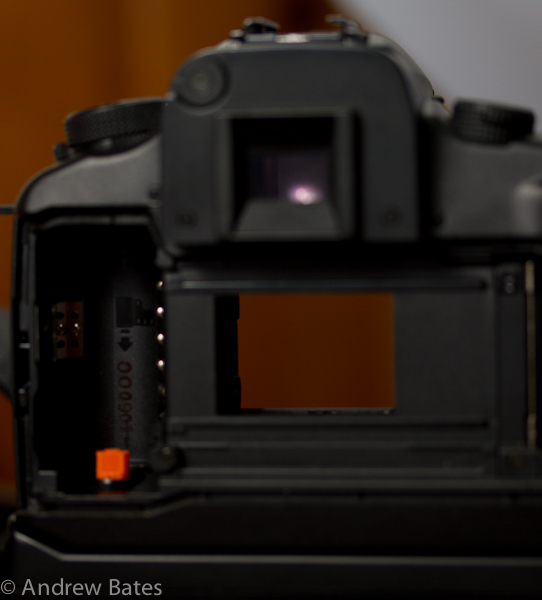 Opening the shutter for a set ammount of time, let's say one second, lets in a very specific ammount of light. You don't need to know an exact number, but know that if you want to let in more light you need to open up the shutter for a longer ammount of time. Much like ISO, if you want twice as much light to come in open the shutter for twice as long. If you tried at 1 second and it's not enough light you can double the ammount of light by opening the shutter for 2 seconds... or quadruple it by opening the shutter for 4 seconds. Very easy.
So again, take a shot. If it's too dark, open the shutter for more time... if the picture is too bright, open the shutter for less time. Simple. Of course, like with ISO, you cannot just go setting the shutter to whatever speed you want without consequences, but we will talk about that later. Just remember that if the shutter is open longer, more light comes in. The only catch to the shutter speed is that usually we don't open it for longer than a fraction of a second. And since we almost always work in fractions of seconds some cameras will show the shutter speed using just the bottom part of the fraction... let me explain. 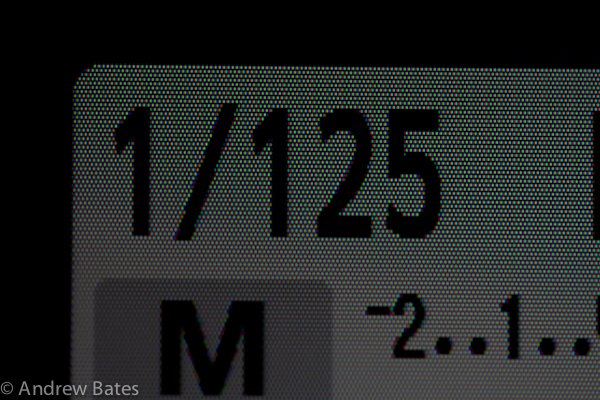 If we are taking a picture with a shutter speed of one 60th of a second (1/60 seconds) the camera may just show 60. And for 1/125 it may just show 125. If this is the case, it may show whole seconds with some indicator like an s or quotes (so 15 seconds might be shown as 15s or 15" or something like that). This might seem confusing at first but it works if you remember that a faster shutter speed means a larger number (just like in a car). So if your picture is too bright, you need a faster shutter speed to darken it (let in less light), or if it's too dark you need a slower shutter speed to brighten it (let in more light). If you can't remember which is which you can always adjust the setting one way, see the result and then go the other way if it only got worse. Eventually this will all make sense but for now, don't be afraid to play around.
So now we have two ways to make our picture lighter or darker: ISO and shutter speed. You can adjust both, or just one. The overall effect, as far as brightness is concerned, is the same. So if you want twice as much brightness in your picture you can double your ISO or you can double your shutter duration. The effect on the ammount of light in your picture is identical. There are other consequences but we will talk about that later.
You may remember the mention of one more object blocking light from hitting the sensor. This object is called the aperture. The aperture on a camera is almost identical to the iris on your eyes (the colored part of the eye). We all know that when you're in sunlight, your pupils (the black part of the eye) becomes really small, right? That's because the iris closes up to restrict the amount of light coming in. And in dark areas, the pupil opens wide to let lots of light in. In either situation we still see everything (the iris/aperture does not actually get in the way, it just restricts the ammount of light coming in... kind of like built in sun glasses). To go back to the plant analogy one more time, if you adjust the water flow at the tap you can control the ammount of water that comes out of the sprayer; you still need to squeeze the handle to actually let the water out, but you can set the flow rate whenever you like.
Since the aperture is circular and opens and closes in a circular way, just like the iris on your eye, we talk about the area of the circle when talking about how much light it is letting through. 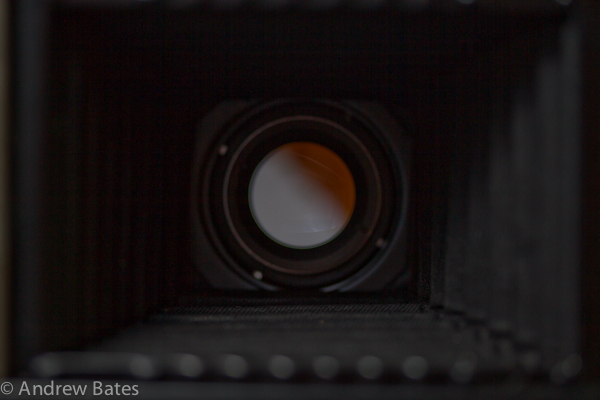 Unfortunatly this can get a bit complicated since different lenses need a different size circle to let in similar ammounts of light. To simplify this, we talk about f-stops. These numbers are very distinct but are a little trickier than ISO or shutter duration. You can't just multiply your aperture value by 2 to let in twice as much light.
 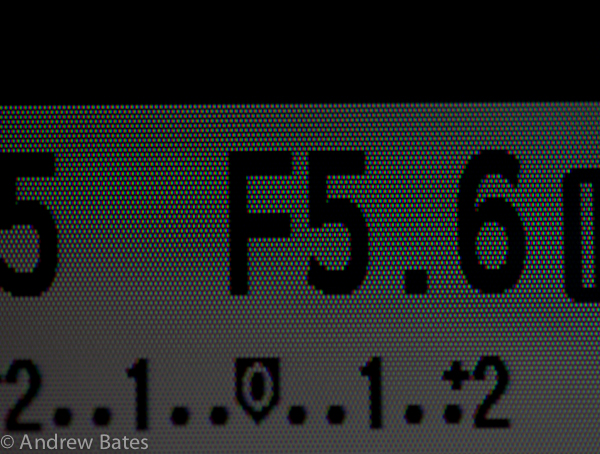 So to keep it simple just remember that aperture works backwards to ISO: bigger aperture number means less light. So, once again, snap a picture... if it is too dark, turn your aperture number to a smaller number to brighten up the picture. Alternativly, if your shot is too light, turn your aperture number to a higher number to darken it up.
 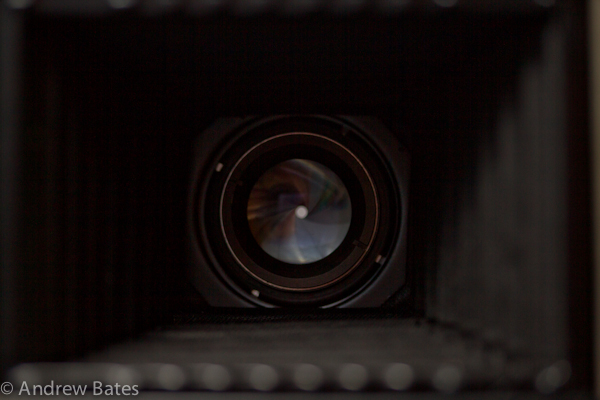 Just to give you an idea of how different aperture values are... if you are at an aperture value of 4 and you want to let in twice as much light, you need to change that number to 2.8. If you don't mind some simple math you can divide by the square root of 2 (about 1.4) to double the ammount of light coming in... if you do mind some simple math just adjust the value one way and, if it gets worse, go the other way. Again, there are consequences but try not to think about them yet. The aperture will often be shown with an f next to it to help identify it. The f has meaning, but it is not important right now. Just remember that larger f number means less brightness, smaller f number means more brightness... opposite of ISO.
Now we have three ways to control the ammount of light in our picture. We can adjust the ISO to control how sensitive the camera is to light (higher number means more light sensitive), we can adjust the shutter speed to choose how long we expose te sensor to light (larger number means faster speed which means not as much light coming in) and we can adjust the aperture to control how much light is allowed through when the shutter opens (higher number means less light coming in). As far as controlling how bright or dark your picture looks, you can just play around with those values (one or two or all three... it's all up to you). Why not give it a try! Set your ISO to 400, your shutter speed to 1/60 (or just 60 depending on how your camera does it) and your aperture to f/5.6. Take a shot and use just the ISO to make it look right. Then set it back to the original settings and use just shutter speed to make it look right, then do the same with just aperture. Simple.
Here's a quick little table to help out. You can see various values for ISO, shutter speed and aperture. Numbers closer to the left side will make a darker image and numbers closer to the right will create lighter images.
| Darker | ISO | 50 | 100 | 200 | 400 | 800 | 1600 | 3200 | 6400 | ISO | Lighter |
| Shutter | 1/125 | 1/60 | 1/30 | 1/15 | 1/6 | 1/3 | 0.7s | 1s | Shutter | ||
| Aperture | f1.4 | f2 | f2.8 | f4 | f5.6 | f8 | f11 | f16 | Aperture |
After a little bit of playing around you may start to understand the consequences of changing those setting. If not, don't worry... I'll talk about those consequences in the next article "Exposure: face the consequences". For now, just make sure you understand what those three settings are doing to the overall brightness of you picture.