Exposure: face the consequences.
 So you've been playing around with the exposure controls on your camera and you are ready to face the consequences. Don't worry, though, the consequences are what make your camera so powerful. I mean, if it was as simple as just making a picture brighter or darker you'd just leave it up to the computer (which you can do if you want). But you didn't go buy a fancy camera to let it make all the fun choices, so let's talk about what those choices are.
Let's start once again with ISO. You know that if your picture is too dark you can just turn up your ISO number and it will brighten the picture. But that is not the only thing that is happening. The higher your ISO number goes, the more grain you start to see in the picture. I say grain because that's what you see when using film but there is a similar effect in digital cameras that tends to get called noise. In either case, the quality of your picture will start to decrease as you increase your ISO number. How much does it decrease? Well, that depends a lot on what camera you are using. More expensive cameras tend to hold their quality more in the higher ISO's but they all suffer the same fate at some point. Here are some samples of the same shot at different ISO numbers (to make the shots have the same brightness I am also modifying the shutter speed, so everytime I double the ISO to show the quality change I also make the shutter open twice as fast... the ISO change brightens the image and the shutter change darkens it back down to where it should be).
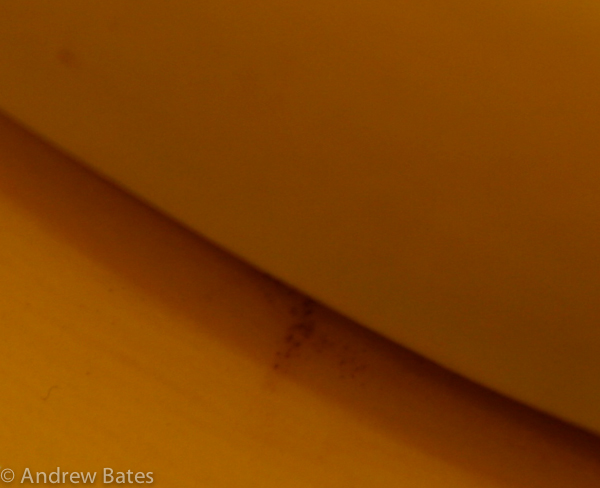 100ISO
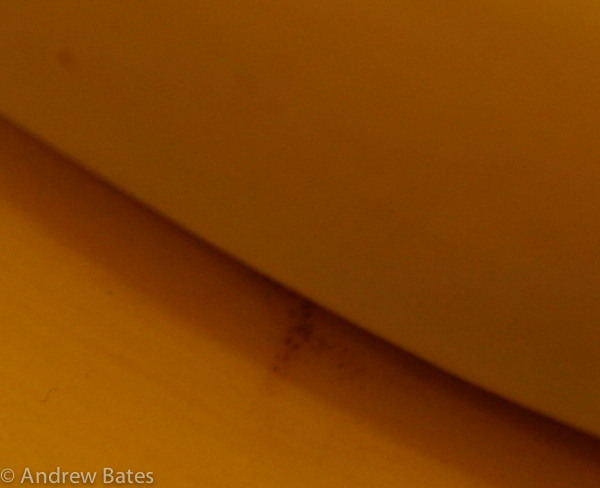 200ISO
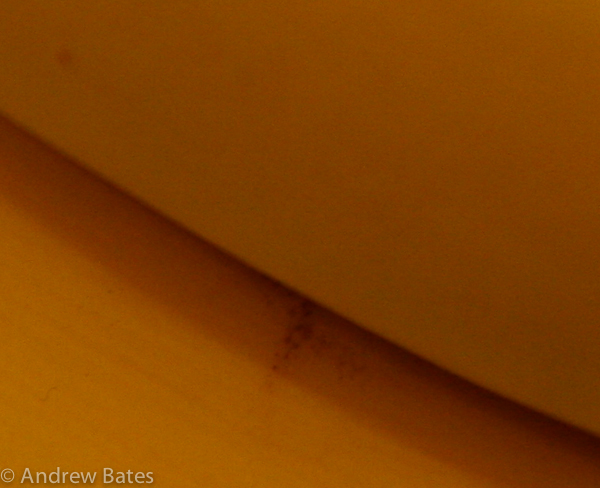 400ISO
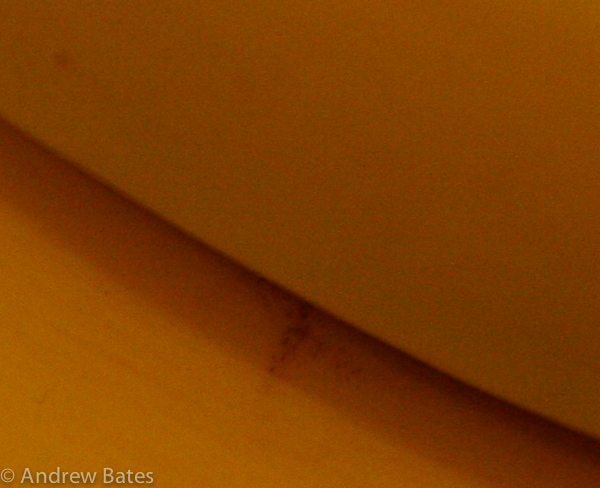 800ISO
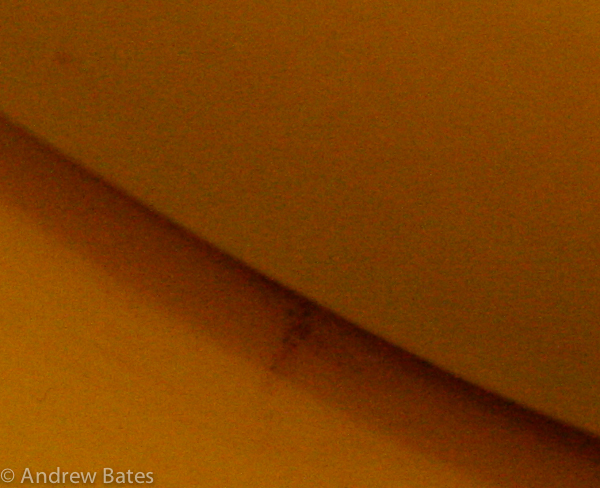 1600ISO
These images have been zoomed in so you can really see the noise. So now you know the consequences of changing ISO; the higher the ISO the noisier the picture. But don't let this scare you away from touching the ISO setting. Certainly, you want to try to shoot at the smallest ISO value that you can. But if you need to shoot at a higher ISO I think it is better to get a noisy picture than no picture at all. The choice is yours. But before you make that decision, let me show you the full picture from the examples above. The one on top is done at this camera's highest quality (100 ISO) and the one on the bottom is done at this camera's lowest quality (1600 ISO).
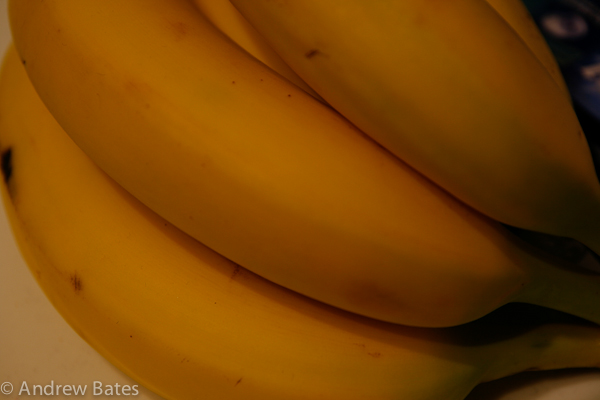
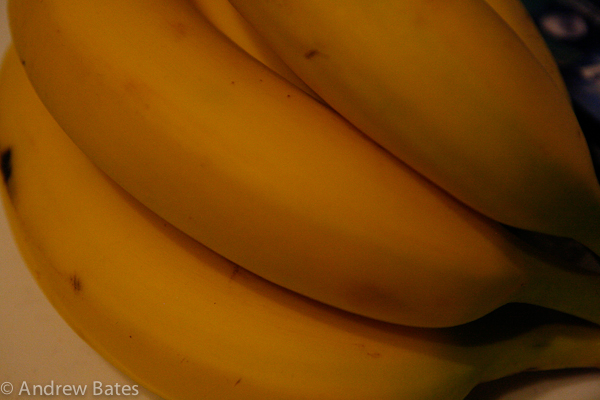
Not too bad, right? A lot of the noise/grain you see from high ISO shots is only really troubling when you blow up the picture. So, there are options.
Speaking of options, let's move on to the next option you have: shutter speed. We know that slower shutter speeds mean brighter images but slower shutter speeds also let you see motion! See, they're not all bad consequences. If you are taking a picture of something that is not moving, like a fruit bowl, it won't matter what shutter speed you use to capture it (assuming you can hold the camera steady). If you are taking a picture of something moving, though, you do need to think about your shutter speed.
Let's use a soccer match as an example. Let's say a player has just broken away from the pack with the ball. You want to take a picture of this player running as fast as they can towards the goal. Now imagine you set the shutter speed to 10 seconds (so the shutter is going to stay open for ten seconds) and put the camera down on a tripod so that it doesn't move. In that ten second period the player will have moved from one side of the picture to the other and the rest of the players will probably have run through the picture, too. The result will be a very blurry picture... probably not the shot you want.
That example is a little rediculous but it's a little easier to imagine stuff happening over a longer period of time. Just remember that if you are taking pictures of moving things you need to be concerned about shutter speed. This doesn't mean that slow shutter speeds are bad, though. If done properly you can get some fantastic shots at slow shutter speeds. But you can get some pretty amazing shots at fast shutter speeds, too. If you think about the soccer player example above, imagine that you start making the shutter speed quicker. At a shutter speed of one second the player may have taken a few steps but they may have at least stayed in the shot. The rest of the players aren't in the shot because the shutter closed well before they got there. That's a little better, but still not ideal. So lets set the shutter speed to one quarter of a second (1/4). Now the player has only taken one step but is still very blurry. So try one one-hundredth (1/100) of a second. The player is barely moving in that small ammount of time. How about 1/400? The player and the ball look like they are frozen in time. That's much better.
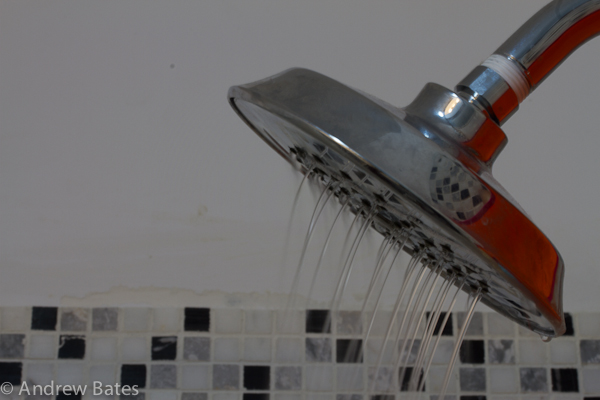
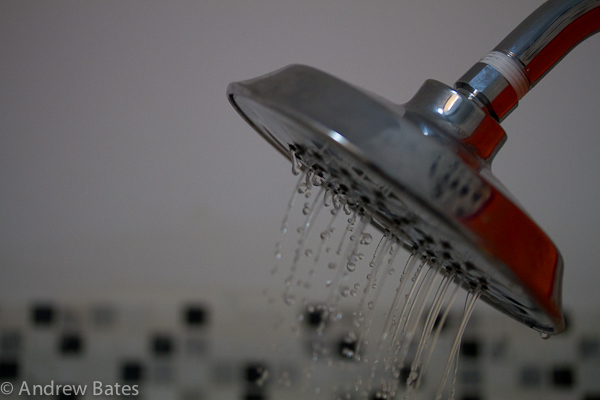
Here are some examples. I'll start with water since it can look really good at just about any shutter speed. On the left you see a shot of water flowing from a shower head taken with a slow shutter speed. Because the shutter is open for a long time, and because the water is moving, the stream of water becomes blurry and soft looking. On the right is the same scene, with the water flowing at the same rate, but with a fast shutter speed. Now the water is frozen in time and you can see all the reflections, light coming through the water, little drops of water... lots of detail. Each picture has its own charm and you have the freedom to choose either look or any look in between.
Before I talk about the next example I think this is a good time to mention the effects of holding the camera when shooting at slow shutter speeds. No one can stand perfectly still. No matter how well you try to balance yourself, if that camera is only being supported by your hand it will be moving everytime you take a picture. This is called camera shake. It's not too noticable to the casual observer but when you hand hold a shot with a slow shutter speed the shake will become apparent in the final image: it makes the entire shot blurry. There is a little rule of thumb which is very good to remember. If you turn your shutter speed number upside-down, that number should not be smaller than the focal length of your lens. To clarify, if you are using a 50mm lens don't use a shutter speed slower than 1/50 when hand-holding your camera... if it is a 14mm lens, don't use a shutter speed slower than 1/14... if it is a 100mm lens don't use a shutter speed slower than 1/100. Simple. If you need to use a slower shutter speed than that, use a tripod or set the camera on a table or something like that where the camera won't move.
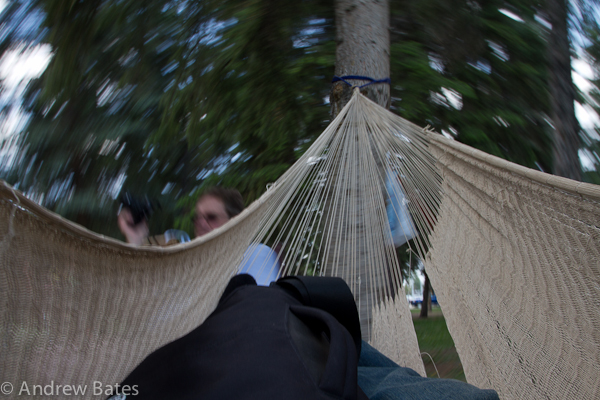 The next couple of shots are just a couple of random ones from my collection. The first one is a slow shutter speed shot of me rocking in a hammock... not the best shot (it's tough to hand-hold a shot when everything is moving) but you get the idea. I focused on my camera bag and held the camera as still as possible while taking the shot. Because my bag wasn't moving relative to the camera it looks clear... the background was moving, so that looks blurry. I used a shutter speed that was just long enough to get the hammock swinging in one direction (rather than opening it up for 10 seconds so the back ground was a complete blurry mess) and it gives the feel of motion to the shot (which is what I wanted). If I had left it up to the computer it never would have let me take that shot because it wouldn't have understood what I wanted.
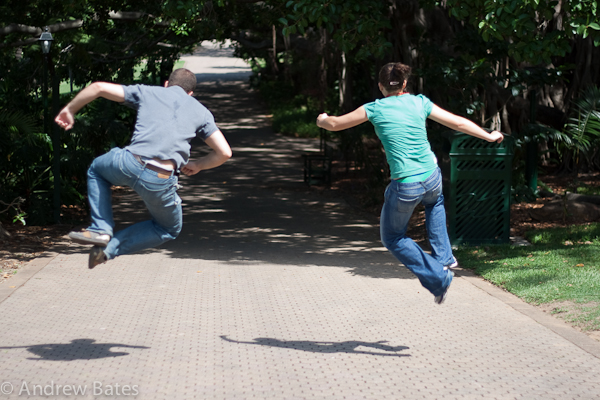
This is one of me and my wife being silly. My friend set the camera to a very fast shutter speed and we did our little heel clicks and there we are, hanging in mid air.
And here's another fast shutter speed shot of a bird taking off... again, frozen in time.

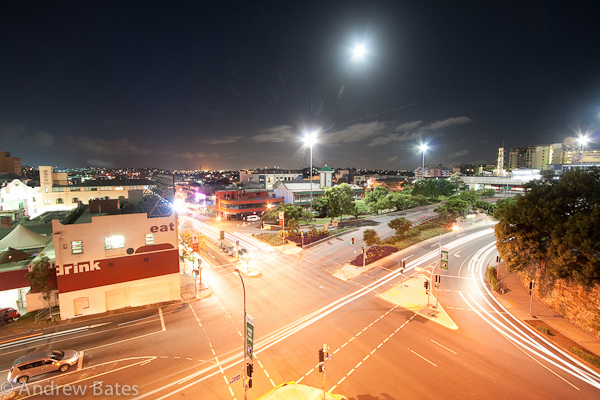
Here is a slow shutter speed shot. A common use for slow shutter speeds is for showing trails of light from things like cars. This is a shot done at night (best time to see lights from cars) looking down at a busy intersection. As the cars drive by, their lights burn a trail across the picture that looks pretty cool (if that's the look you are going for).
If you find that you really like playing around with shutter speeds, you may be very interested to start learning about using flashes; They open up many interesting possibilities for using long shutter speeds. I plan to write a lot about flash photography but that might be a ways off. In the mean time, it's time to discuss the final consequence (and possibly my favorite one)... the effect of aperture.
Hopefully you understand how the aperture numbers work now (I know it can be a little confusing at first). You know that if you set your aperture to a small number you get brighter shots, right? Well, you also get a beautiful little thing called depth of field. When you focus on an object with your camera, that object will be nice and clear. Things in front or behind the object, though, will start to become less focused the further away they are. Here's a dry, technical example using a tape measure. In both shots I have focused on the 24 inch mark. On the left I am using a very small aperture number (f1.4) to create a narrow depth of field and on the right I use a large aperture number (f16) to create a wide depth of field.
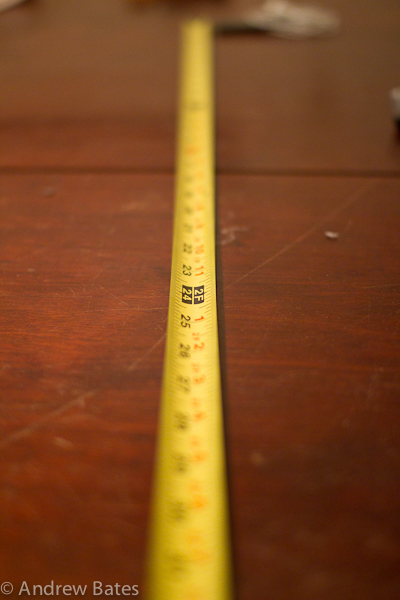
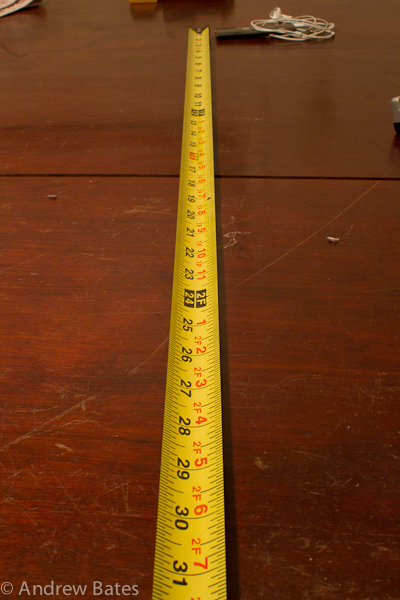
You can see that, with the narrow depth of field, things get very blurry very quickly. With the wide depth of field more of the tape measure is in focus. But why wouldn't you want to just use a large aperture number all the time so that everything is in focus? Because then you wouldn't get shots like this.

This is where your fancy camera and pricey lens is really going to show its value. This is where it really stands out from the point and shoot cameras with tiny lenses and sensors. A narrow depth of field will let you take some very nice portraits with a sharp subject and a smooth background. This style of shot really removes all distractions and puts all the attention on the main subject. It will also let you shoot in low light (narrow depth of field means small aperture number which means brighter pictures, right?). Win win. This won't be ideal for every shot, but you know how to deal with that now!
That's right, you pretty much have the full picture now (ba-dum-bum). You know the three big keys to getting your shot and you know the consequences. So now when you look at a scene you can figure out what is important to you and taylor your shot for it. At a soccer game there are lots of moving objects and people so you want to lock in your shutter speed and then adjust the ISO and aperture to get the brightness you want. When taking a portrait shot you'll want to lock in your aperture setting and adjust the shutter speed and ISO to get the right brightness. If you want to get a high quality shot and are using a tripod you can lock in your ISO to a low number and adjust your shutter speed and aperture to get the right brighness. The choices are all yours now.
That being said... I know I said a couple of times that you didn't buy a fancy camera to let the computer make all the decisions... but really... you kinda did. Full manual shooting has its place and time but there are some other really great computer assisted modes you can use to get the shot you want quickly and I will cover those in the next article, "Exposure: ok, computer".